
22 Feb At-Home Teen Craft-A-Long: Constellation Embroidery
Welcome to our new programming blog series: At-Home Teen Craft-A-Long! We will post instructions after one teen arts and crafts program each month so you can follow along at home. This is a great way to stay involved at the library, even if you are unable to attend all of our programs.
This week we learned how to embroider our favorite constellations. Follow the instructions below to make your own starry sky!
Materials:
- Embroidery hoop of any size (we used 4 inch hoops)
- White, yellow, or gold embroidery floss
- An embroidery needle
- Dark blue or black fabric
- White colored pencil
- Fabric scissors
- A constellation pattern
Steps:
- Visit Creativebug via PGTPL’s “Online Databases” page to access the zodiac constellation patterns (search “Embroidered Constellations”). Alternatively, you can use the Internet to find your favorite constellation or check out Sky Gazing by Meg Thacher from Teen Central.
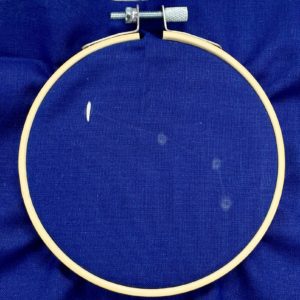
Preparing your embroidery hoop:
- Use fabric scissors to cut a square piece of fabric that is slightly larger than your embroidery hoop.
- Loosen the screw on your embroidery hoop to separate the inner and outer rings.
- On a flat surface, place your fabric square over the inner ring (the one without the screw), then place and press the outer ring over the fabric and inner ring.
- Tighten the screw and gently tug on the edges of the fabric so that it is taut.
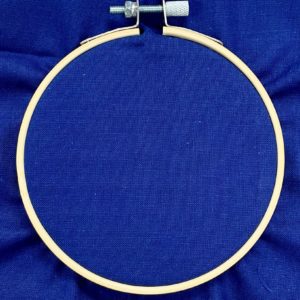
This is what your hoop and fabric should look like.
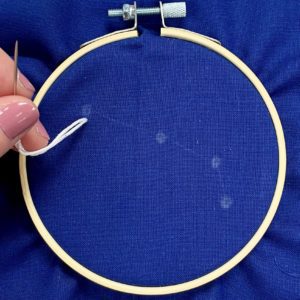
Preparing your needle:
- Cut about 12 inches (from your fingers to your elbow) of embroidery floss.
- Thread your needle. You can use water to dampen and flatten one end of the embroidery floss so that it will go through the eye of the needle more easily.
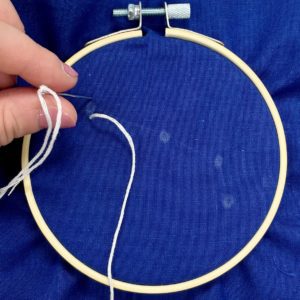
- Tie a knot at each end.
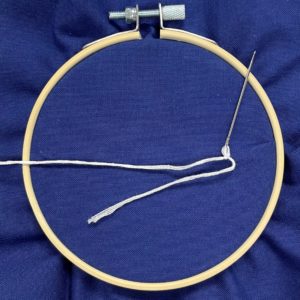
A knot around the eye of the needle.
A knot at the tail end of the thread.
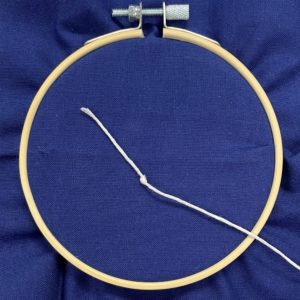
- You may need to rethread your needle at some point depending on the size of your constellation.
Stitching your constellation:
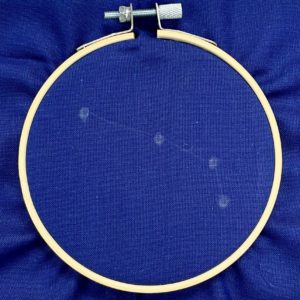
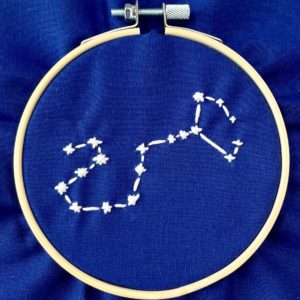
- Use a white colored pencil to lightly draw your constellation onto the fabric. You can easily stitch over this tracing.
- Use a “straight stitch” (up through the back of the fabric, down through the front) to make all of the stars.
Up through the back.
Down through the front.
This is a single straight stitch.
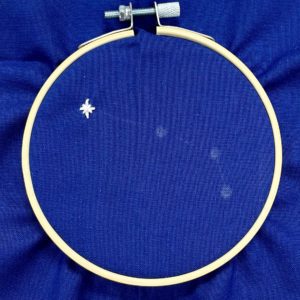
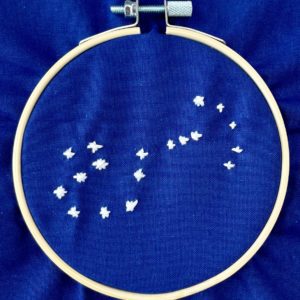
Make a star using many straight stitches.
- Once you have stitched all of the stars, use a straight stitch to connect them. Make sure to continue referencing your constellation.
- Once you have finished stitching your constellation, tie a knot at the back of the fabric to secure your stitches.
- Use fabric scissors to remove the excess fabric.
You can display your final product at home or at the library in the Teen Central Gallery. We would love to fill our display case with your arts and crafts! Bring your pieces (including this constellation embroidery) to Teen Central or send digital files to teencentral@plainfieldlibrary.net.