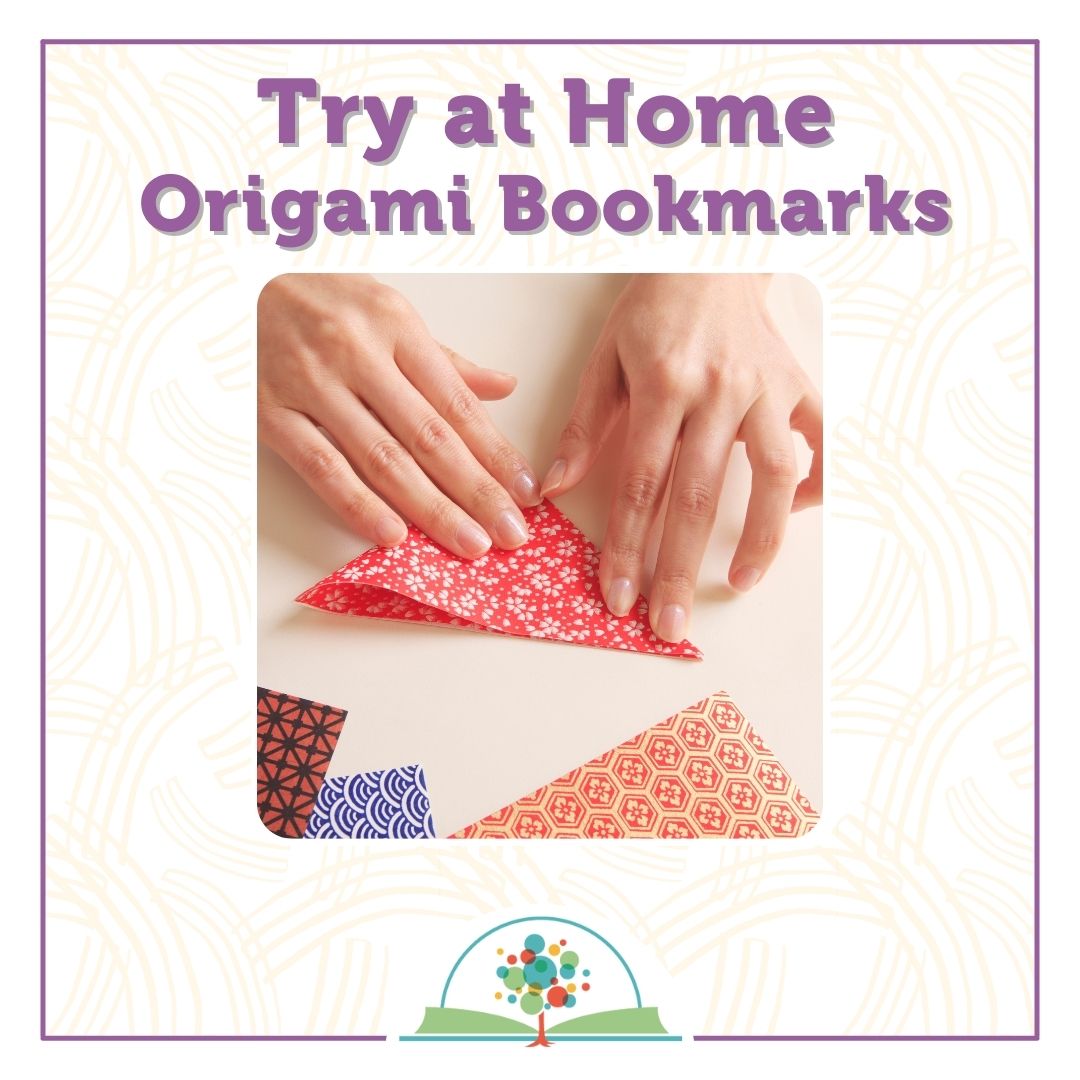
09 May Try at Home: Origami Bookmarks
Learn to make your own bookmarks using a few household craft materials and your imagination. You can use various colors and designs to decorate your craft however you’d like. Follow along these step-by-step instructions with photos to practice making a functional origami bookmark:
You’ll Need:
- Paper
- Scissors
- Glue or tape
- Pencils/Crayons/Markers
Instructions:
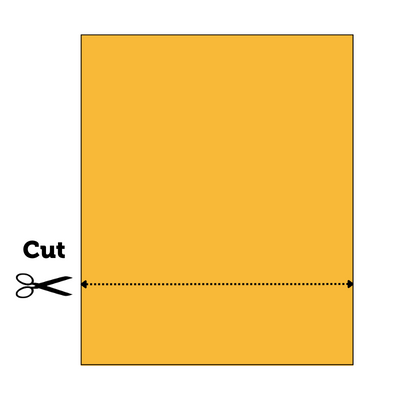
- Cut a square from a piece of paper.
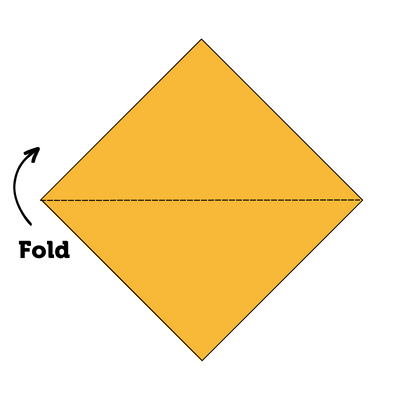
2. Valley fold the square by connecting the corners and folding into a triangle.
3. Fold the bottom right corner of the triangle to connect to the top corner.
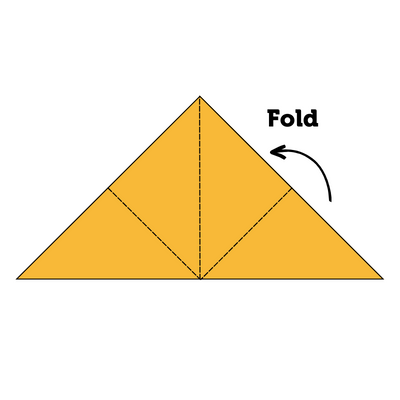
4. Repeat step 3 with the right corner, connecting it to the top corner.
5. Glue or tape the folded corners from steps 3 and 4 to secure it into a diamond shape. Then flip over

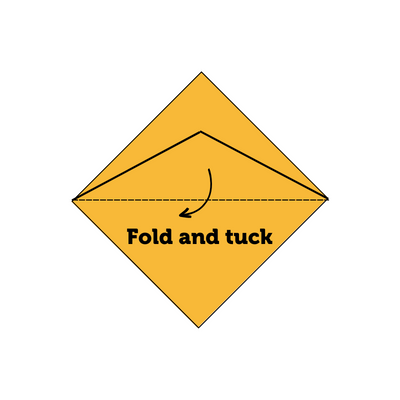
6. This step can be tricky so ask for help if needed! Using only the top layer of paper, fold the bottom corner to the top corner. Once you have that crease, fold it the other direction and tuck it securely to create an opening for your bookmark.
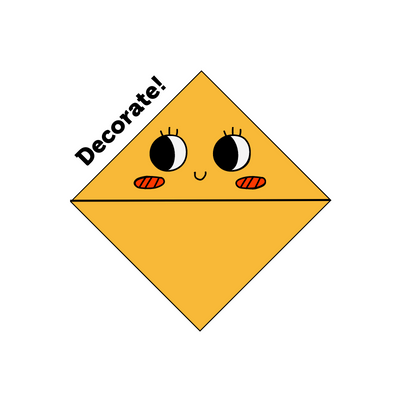
7. You have now completed all of the folding – time to decorate!
8. Tuck your new bookmark on your page to quickly pick up next time!